Build the Perfect Web Server
02 Dec 2014
Anyone who works with websites will know how incredibly hard it is to find a good host, at a good price. Unfortunately, the market is saturated with crappy hosts, who provide crappy support, and even crappier servers. So why not build the perfect web server for your needs? Host it yourself and say goodbye to all the cowboy hosts. Here’s how to build the perfect web server…
GET A SERVER
The first thing you need to do, is go out and get yourself a server. Don’t worry, you don’t need to contact Dell and pay a few thousand quid for a server. You can rent one very cheaply from companies like Digital Ocean (psst; I did a review about them recently), and that’s who we’re going to be using in this guide. Digital Ocean offer a number of different size servers, but as a general rule of thumb, if you only intend on running a couple of low traffic websites, then the 512MB one should be enough – you can always upgrade if you have problems.
So head over to Digital Ocean (use this link if you want $10 free credit), sign up for a new account, and create your first droplet. Creating a new Droplet (Digital Ocean’s word for a virtual server) is extremely easy, so I’m not going to insult your intelligence by guiding you through that part (plus I can’t be bothered). Choose the data centre that closest to you geographically, that will help speed the site up a little. I personally use Ubuntu, so pick the latest version (currently 14.04 x64), then hit the create button.
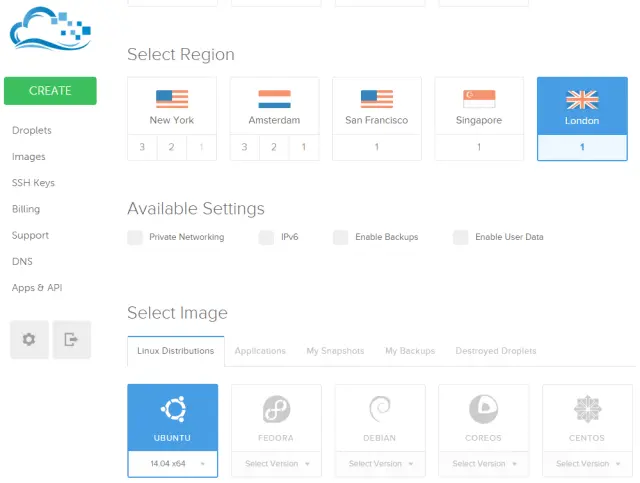
It’s up to you if you want to enable backups or not. Personally, I always do as it’s an extra level of security for your website(s), but it’s up to you. Note: backups cost extra so look into that first.
Once your server has been created (it takes about 30 seconds) you will receive an email with your IP address and root log in details. The first time you log in, you will be asked to change the root password – just make sure you keep that safe – if you lose it, you can kiss your server goodbye.
Making a web server
Ok, we now have a basic Ubuntu server. Great. But how the hell are you supposed to get your website(s) hosted on the damn thing? Simple, we’re going to install and configure Sentora. Sentora is a free and open source web server control panel that will allow you to add domains, email mailboxes, FTP accounts, and a raft of other exciting web servery things. Sentora used to be called ZPanel, and I’ve been using it for a couple of years now. It’s rock solid, extremely easy to use, and really great at what it does. There are other free control panels out there, but in my humble opinion, Sentora is by far the best for my needs.
After all, this is a guide on how to build the perfect web server. Right?
Installing Sentora
Installation is sooooo easy! It’s literally one command. So, sign in to your server via SSH, using a client like PuTTy. Then enter the following command:
bash <(curl -L -Ss http://sentora.org/install-beta)
The installer is currently in beta, but don’t worry, it’s VERY stable (that’s just because they’ve recently re-branded from Zpanel to Sentora). You can find more information on the installer here.
The Sentora installer will then ask you a couple of questions. Make sure you enter a domain name for the web server, and make sure you have pointed the A record for the domain name at your web servers IP. Something like server.mydomain.com would be great. Installing Sentora will take around 5 minutes. Once it’s done, it will spit out a load of passwords for you. Make you you save them in a safe place, as these are the passwords to Sentora, and for PHPMyAdmin (used for managing databases).
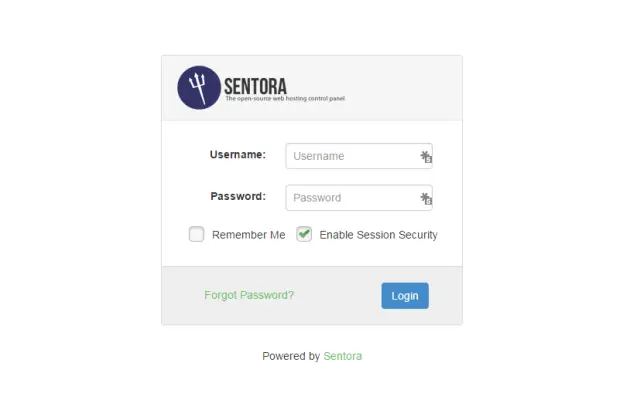
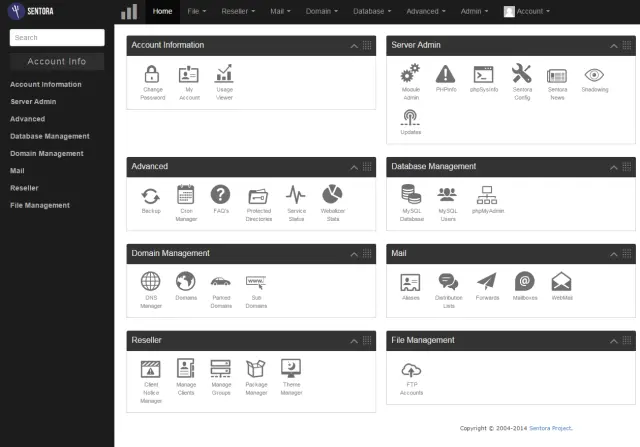
The final step is to reboot the server. You can then navigate to http://server.mydomain.com and log in using the details that the Sentora installer gave you. It should look something like this:
Using your new web server
Congratulations! You now have your very own, awesome web server – you have managed to build the perfect web server! So what now? Well, the first thing you need to do is set up an FTP account so that you can upload your website files. Under the File Management tab, select FTP accounts. From here, you can set up a master FTP account that has access to all domains, or you can set up FTP accounts that only have access to certain domains. Here’s the settings for a master account:
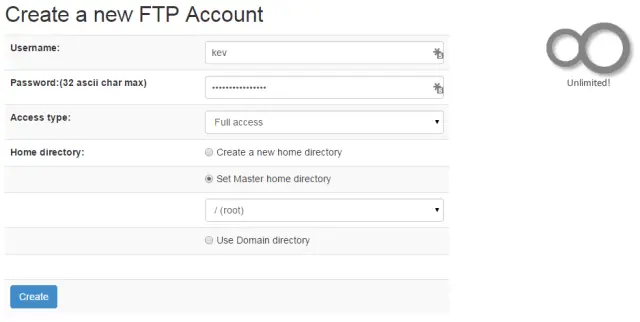
Now you can log in to your web server using a program like Filezilla. The next thing to do is start adding your domains, email account, and anything else you wish to add to your web server. As I said above, Sentora is extremely easy to use, so you shouldn’t have any problems doing any of the normal functions of a web server. However, if you do, leave a comment below, and I’ll be happy to help where I can.
For as little as $5 a month, you can have a really slick, powerful web server that will host your web site and emails with ease. Digital Ocean and Sentora combined, provide a really great platform for any web site owner to work from. Have you had to build the perfect web server? If so, tell me why in the comments below, I love hearing horror stories about bad hosting companies!