How To Add A Custom Colour Palette To The Gutenberg Editor
04 Jan 2020
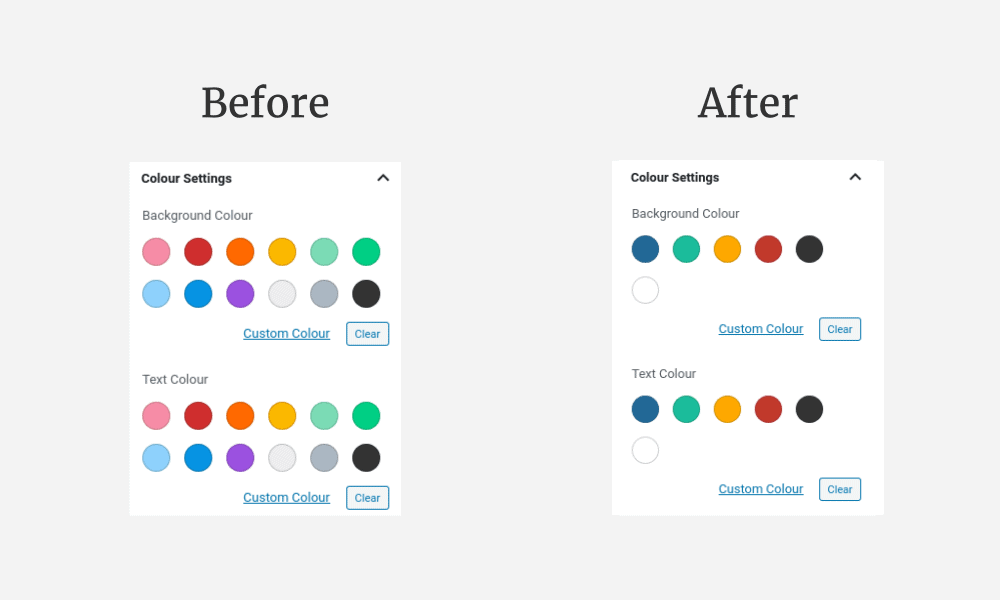
The new Gutenberg editor in WordPress is pretty good, but I wanted to be able to customise the colour palette of my blocks. This post will show you how to add a custom colour palette to the Gutenberg editor.

What are Gutenberg colour palettes?
The new Gutenberg editor uses the concept of blocks to form pages and posts. So you can have a paragraph block, a header block, an image block etc. These blocks are stitched together to create your content.
Gutenberg allows you to customise the background and text colour of blocks so that they stand out. Personally, I only use the custom colours feature to create notifications and warnings within my posts. Like this:
Red is an error or strong warning block.
Blue is an information block.
The default colour palette doesn’t contain any high-contrast colours like the ones above, so I always had to choose the colours manually. This not only slowed me down, but also meant that my warning and notification banners had inconsistent colours.
I needed a way of creating a custom colour palette in Gutenberg.
Adding a custom colour palette
The process requires a couple of additions to the theme you’re using. You will need to edit the functions.php file and your CSS stylesheet.
If you're using a theme that is managed and updated by another person/company, you will need to create a child theme so your changes are not overwritten with an update.
Once you have decided what colours you want to add, open up your functions.php file and add the following add_theme_support call:
// Add support for custom colour pallette in Gutenberg.
add_theme_support( 'editor-color-palette', array(
	array(
		'name' => __( 'blue', 'themeLangDomain' ),
		'slug' => 'blue',
		'color' => '#226997',
	),
	array(
		'name' => __( 'white', 'themeLangDomain' ),
		'slug' => 'white',
		'color' => '#ffffff',
	),
) );
The code above will replace the default palette with blue and white colours. If you want to add more, copy and paste the arrays and edit to suit your needs.
Adding CSS
The final step is to add the CSS so your theme knows how to format the block’s text and background once you select custom colours from the editor.
Open the CSS stylesheet for your theme or your child theme. To add support for the blue and white entries above, we will add the following CSS:
/** Custom colours for Gutenberg editor **/

/** Blue colours **/
.has-blue-background-color {
	background-color: #226997;
}
.has-blue-color {
	color: #226997;
}

/** White colours **/
.has-white-background-color {
	background-color: #ffffff;
}
.has-white-color {
	color: #ffffff;
}
This will allow you to select either blue or white as the background or text colour and the CSS will format the block.
Note: You may need to add additional CSS to format hyperlinks etc. within your coloured blocks.
Conclusion
That’s it. You now have a custom colour palette in Gutenberg.
Obviously it doesn’t have to be used for warnings and notification banners, that’s just how I use them. You could use this process to have a custom colour palette that matches your theme.