Implementing The IndieWeb Into My Website
11 Apr 2020
I wanted to utilise the IndieWeb to take ownership of my data and to make may site more connected. This post talks about how I’ve managed to do that.
This website has been Webmention enabled for quite some time, but having a 4-day weekend here in the UK this weekend, I decided to spend some time hacking on this site to add more IndieWeb functionality.
Indie-what now?
IndieWeb! You never heard of it? Basically it’s a way of using your own website as your entire gateway to the Internet. The essence of the whole thing is to post once, then choose where it’s shared from there.
If you want to learn more about why you think about should implementing the IndieWeb (IW) into your site, take a look at their documentation.
There are many reasons why you should use the IndieWeb, from controlling your experience on the web (instead of corporate algorithms), to deciding where and when to post your content and where it goes. The IndieWeb
I’ve talked about why you should own your own domain, but using the services that the IW offers, you can take that to the next level. That’s what I’ve now done with this site.
H-Card
A h-card is basically a very small profile about yourself with some links. It tells the IW what information about you should be considered a single source of truth.
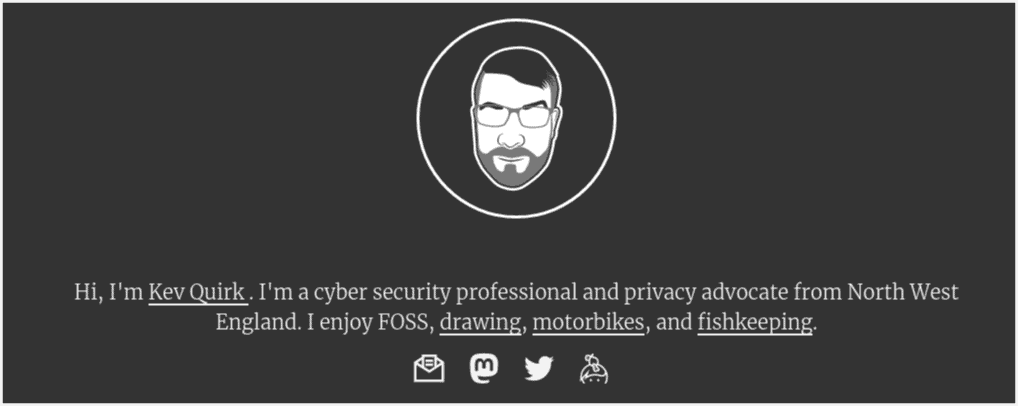
A h-card can be as detailed, or a high-level as you like. There are a tonne of elements you can use in your h-card, but you can use as few or as many as you want. My h-card can be found on the homepage of this site:
 My h-card
Brian Wisti wrote a brilliant post on how he setup his own h-card. It breaks the whole process down to a really simple form, it’s well worth a read if you’re thinking about addinfg your own h-card.
Once you have finished your h-card, you can use this page to validate it is working correctly. The result should look something like this:

Having a h-card configured and working means that other people and sites on the IW know how to get hold of me and where my social profiles are located.
Webmentions
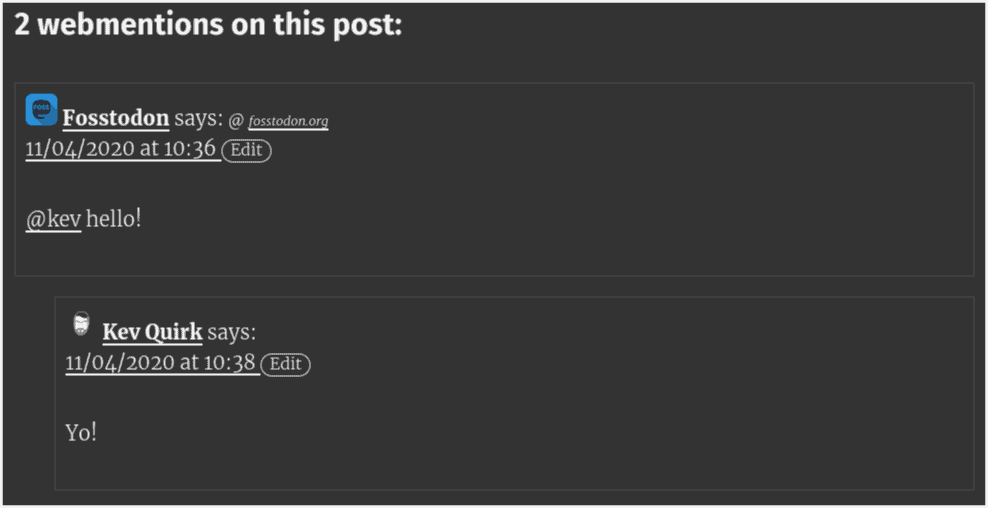
Webmentions are basically comments that traverse the IndieWeb. So if I write a new post on here, then share it on my Mastodon profile and people comment on that post, they will show up here as Webmentions.
What’s even cooler still, is if someone else writes a post on their blog and links to one of my posts, I will get a Webmention for that too. Pretty cool, huh?
I had to do some playing around with my CSS stylesheet to get Webmentions looking right on my site. They show up as WordPress comments, and I have them disabled, so never needed to format them in my theme. I’m still not completely happy, but they look good enough for now. I’ll tweak the CSS when I get more time.

IndieAuth
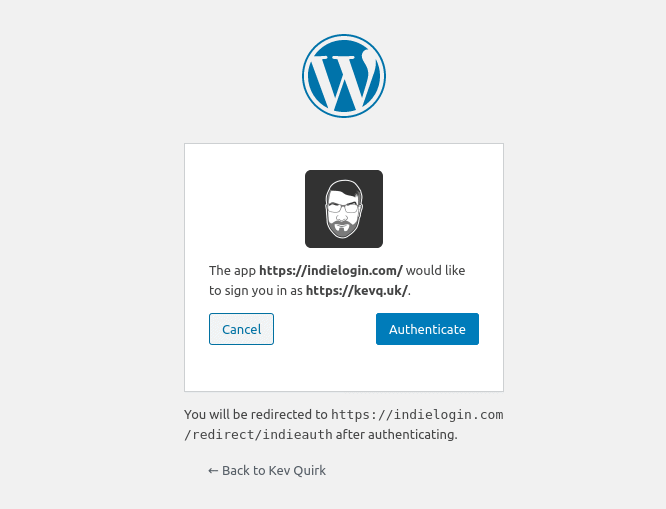
IndieAuth is really cool. Basically, it allows you to login to any IW compatible site with your own website.
So if I wanted to login to the IndieWeb wiki, I could sign up for an account on their servers, or I could just authenticate using the IndieAuth configuration on this site.

How do I implement the IndieWeb?
If you’re running WordPress, like me, then it’s really easy. Just install the IndieWeb plugin, which will allow you to then install other plugins, like IndieAuth and Webmention.
In order to get IndieAuth to work, I had to add the following to my .htacess file:
# Enable IndieAuth
SetEnvIf Authorization "(.*)" HTTP_AUTHORIZATIO
To setup a h-card, I’d strong recommend you read through Brian Wisti’s guide on how he did it. If you’re familiar with some basic HTML and CSS, you should be fine.
You may also need to tweak some of the code for your website to get it working right, but it’s all pretty straightforward.
Conclusion
With a couple of hours spare, I’ve been able to make my website part of the IndieWeb, and I’m really happy with the result. I’m now finding my website to be much more connected and engaging. There’s still more I can do, but this is a good start, I think.
If you’ve never heard of the IW and want to get started too, the IndieWeb wiki has a tonne of useful information to get you going. It can be a little daunting at first, but if you take it slow, it all starts to fall into place and make sense.
I for one am really happy I took the time to do this.